

Personalising tin cans: 7 creative ideas
How to Personalize a Tin Can: 7 Creative Techniques for a Unique Result
What if a simple empty tin can could become a decorative object, an original gift or a personalized container? With a little imagination and a few supplies, it is easy to transform a metal can into a unique creation. Paint, decorative paper, fabric, twine or small accessories: discover different tin can decorating techniques and let your creativity run free!
1. Paint: simple personalization with endless possibilities
Paint is one of the easiest ways to personalize a tin can. It allows you to choose your own colours, patterns and style.
You can use acrylic paint applied with a brush for a handcrafted finish, or choose spray paint for a more even result.
.jpg)
.jpg)
.jpg)
There are several decorative effects to explore:
-
Matte or satin finish for a simple, elegant look.
-
Metallic finish for a chic, luminous touch.
-
Concrete or marble effect for a contemporary style.
-
Artistic rust or copper effect for an industrial or vintage feel.
Want to create geometric patterns, stripes or clearly defined shapes? Masking tape will help you achieve clean lines and a neat finish.
Our tip: prepare the surface carefully and make sure the paint you choose is suitable for metal. Protect your work area, especially when using spray paint.
2. Paper collage: create a can that reflects your style
Collage is an excellent way to personalize a tin can without needing any painting skills.
Several materials can be used:
-
Decorative paper or scrapbooking paper.
-
Wallpaper with graphic or floral patterns.
-
Paper napkins for decoupage.
-
Printed illustrations, patterns or photographs.
-
Personalized labels featuring a name, date or message.
The process is simple: choose your design, cut it to size and carefully apply it to the can. A suitable glue varnish will help secure the paper and protect the decoration.
This technique is particularly well suited to personalized gifts. A can decorated with flowers is perfect for Mother's Day, while a colourful or graphic design can make an original birthday present.
You can also combine different papers to create a patchwork effect or play with contrasting colours and patterns.
3. Fabric: a warm and original finish
Fabric adds texture and can transform the appearance of a tin can in just a few steps.
Natural linen, printed cotton, floral fabric, burlap or colourful patterns: the choice depends on the look you want to achieve.
.jpg)
.jpg)
.jpg)
For a country-inspired feel, choose natural materials and soft shades. For a more modern creation, opt for graphic fabrics or contrasting colours.
Fabric can cover the entire can or simply form a decorative band. You can also add ribbon, a button or a small label to complete your design.
This technique is ideal for decorative containers, gift packaging or objects that match a particular theme.
Tip: use an adhesive suitable for both fabric and metal, and smooth the material carefully to avoid unsightly creases.
4. Twine, rope and wool: natural materials take centre stage
Do you enjoy handmade creations and natural interiors? Twine, rope and wool offer plenty of ways to personalize a tin can.
Wrap thin rope around the can for a rustic effect, or use colourful wool for a more original decoration.
.jpg)
.jpg)
.jpg)
You can also combine different materials:
-
Jute twine with a lace ribbon.
-
Natural rope with a kraft paper label.
-
Different wool colours to create stripes.
-
Decorative cord combined with wooden beads.
These combinations make it easy to create designs suited to a variety of styles: bohemian, country, natural or festive.
To secure the materials, use a suitable adhesive or a hot glue gun, taking care when handling hot glue.
5. Stickers, beads and small accessories: the details that make all the difference
Sometimes, just a few decorative elements are enough to completely transform a tin can.
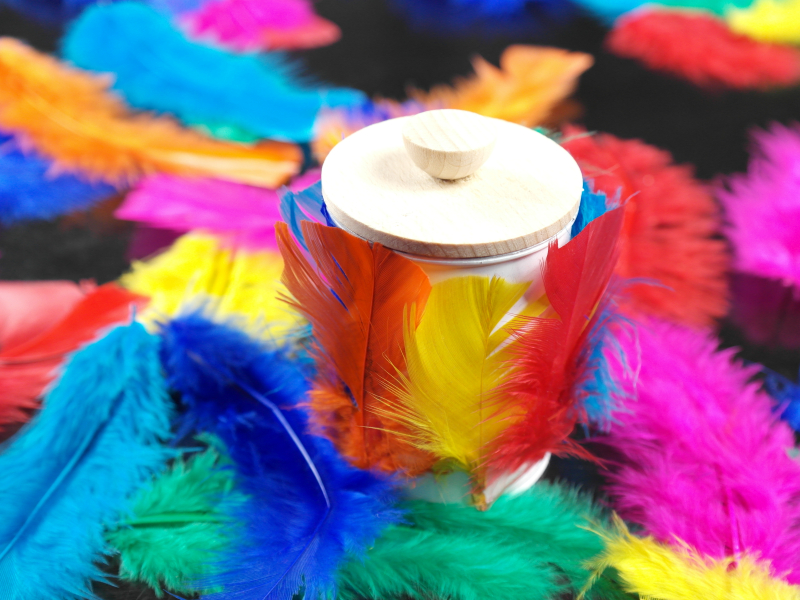
Stickers make it easy to add patterns, illustrations or messages. Beads, feathers, ribbons and small accessories add texture and give your creation more personality.
.jpg)
.jpg)
.jpg)
For example, you could decorate a can with:
-
The name of the person receiving the gift.
-
A humorous or affectionate message.
-
Patterns related to a particular hobby.
-
Small decorative elements suited to a specific occasion.
-
A combination of stickers and paint.
This method is particularly useful if you want to create several cans around the same theme while giving each one its own personal touch.
6. Personalize a tin can for any occasion
The great thing about tin cans is that they can be adapted to almost any occasion. Simply choose the right colours, patterns and accessories.
For a birthday
Choose bright colours, festive patterns and a personalized message. You can turn the can into original gift packaging or a decorative container for a little surprise.
For Mother's Day or Father's Day
Choose a design that reflects the recipient's tastes: floral patterns, favourite colours, photographs or a heartfelt message. A personalized tin can is an original way to present a gift.
For Christmas
Red, green, gold, silver or white: the possibilities are endless. Add ribbons, winter-themed patterns or festive accessories to create a can that fits perfectly with your Christmas decorations.
.jpg)
.jpg)
.jpg)
For a wedding or special event
Match the colours of the can to your event's colour scheme. Natural shades, a personalized label or a matching ribbon will create decorative containers that complement your theme.
For a business or shop
A tin can can also become an original communication tool. Decoration in your company colours, a personalized message or a design related to your business can create a distinctive item for a professional event or a client gift.
.jpg)
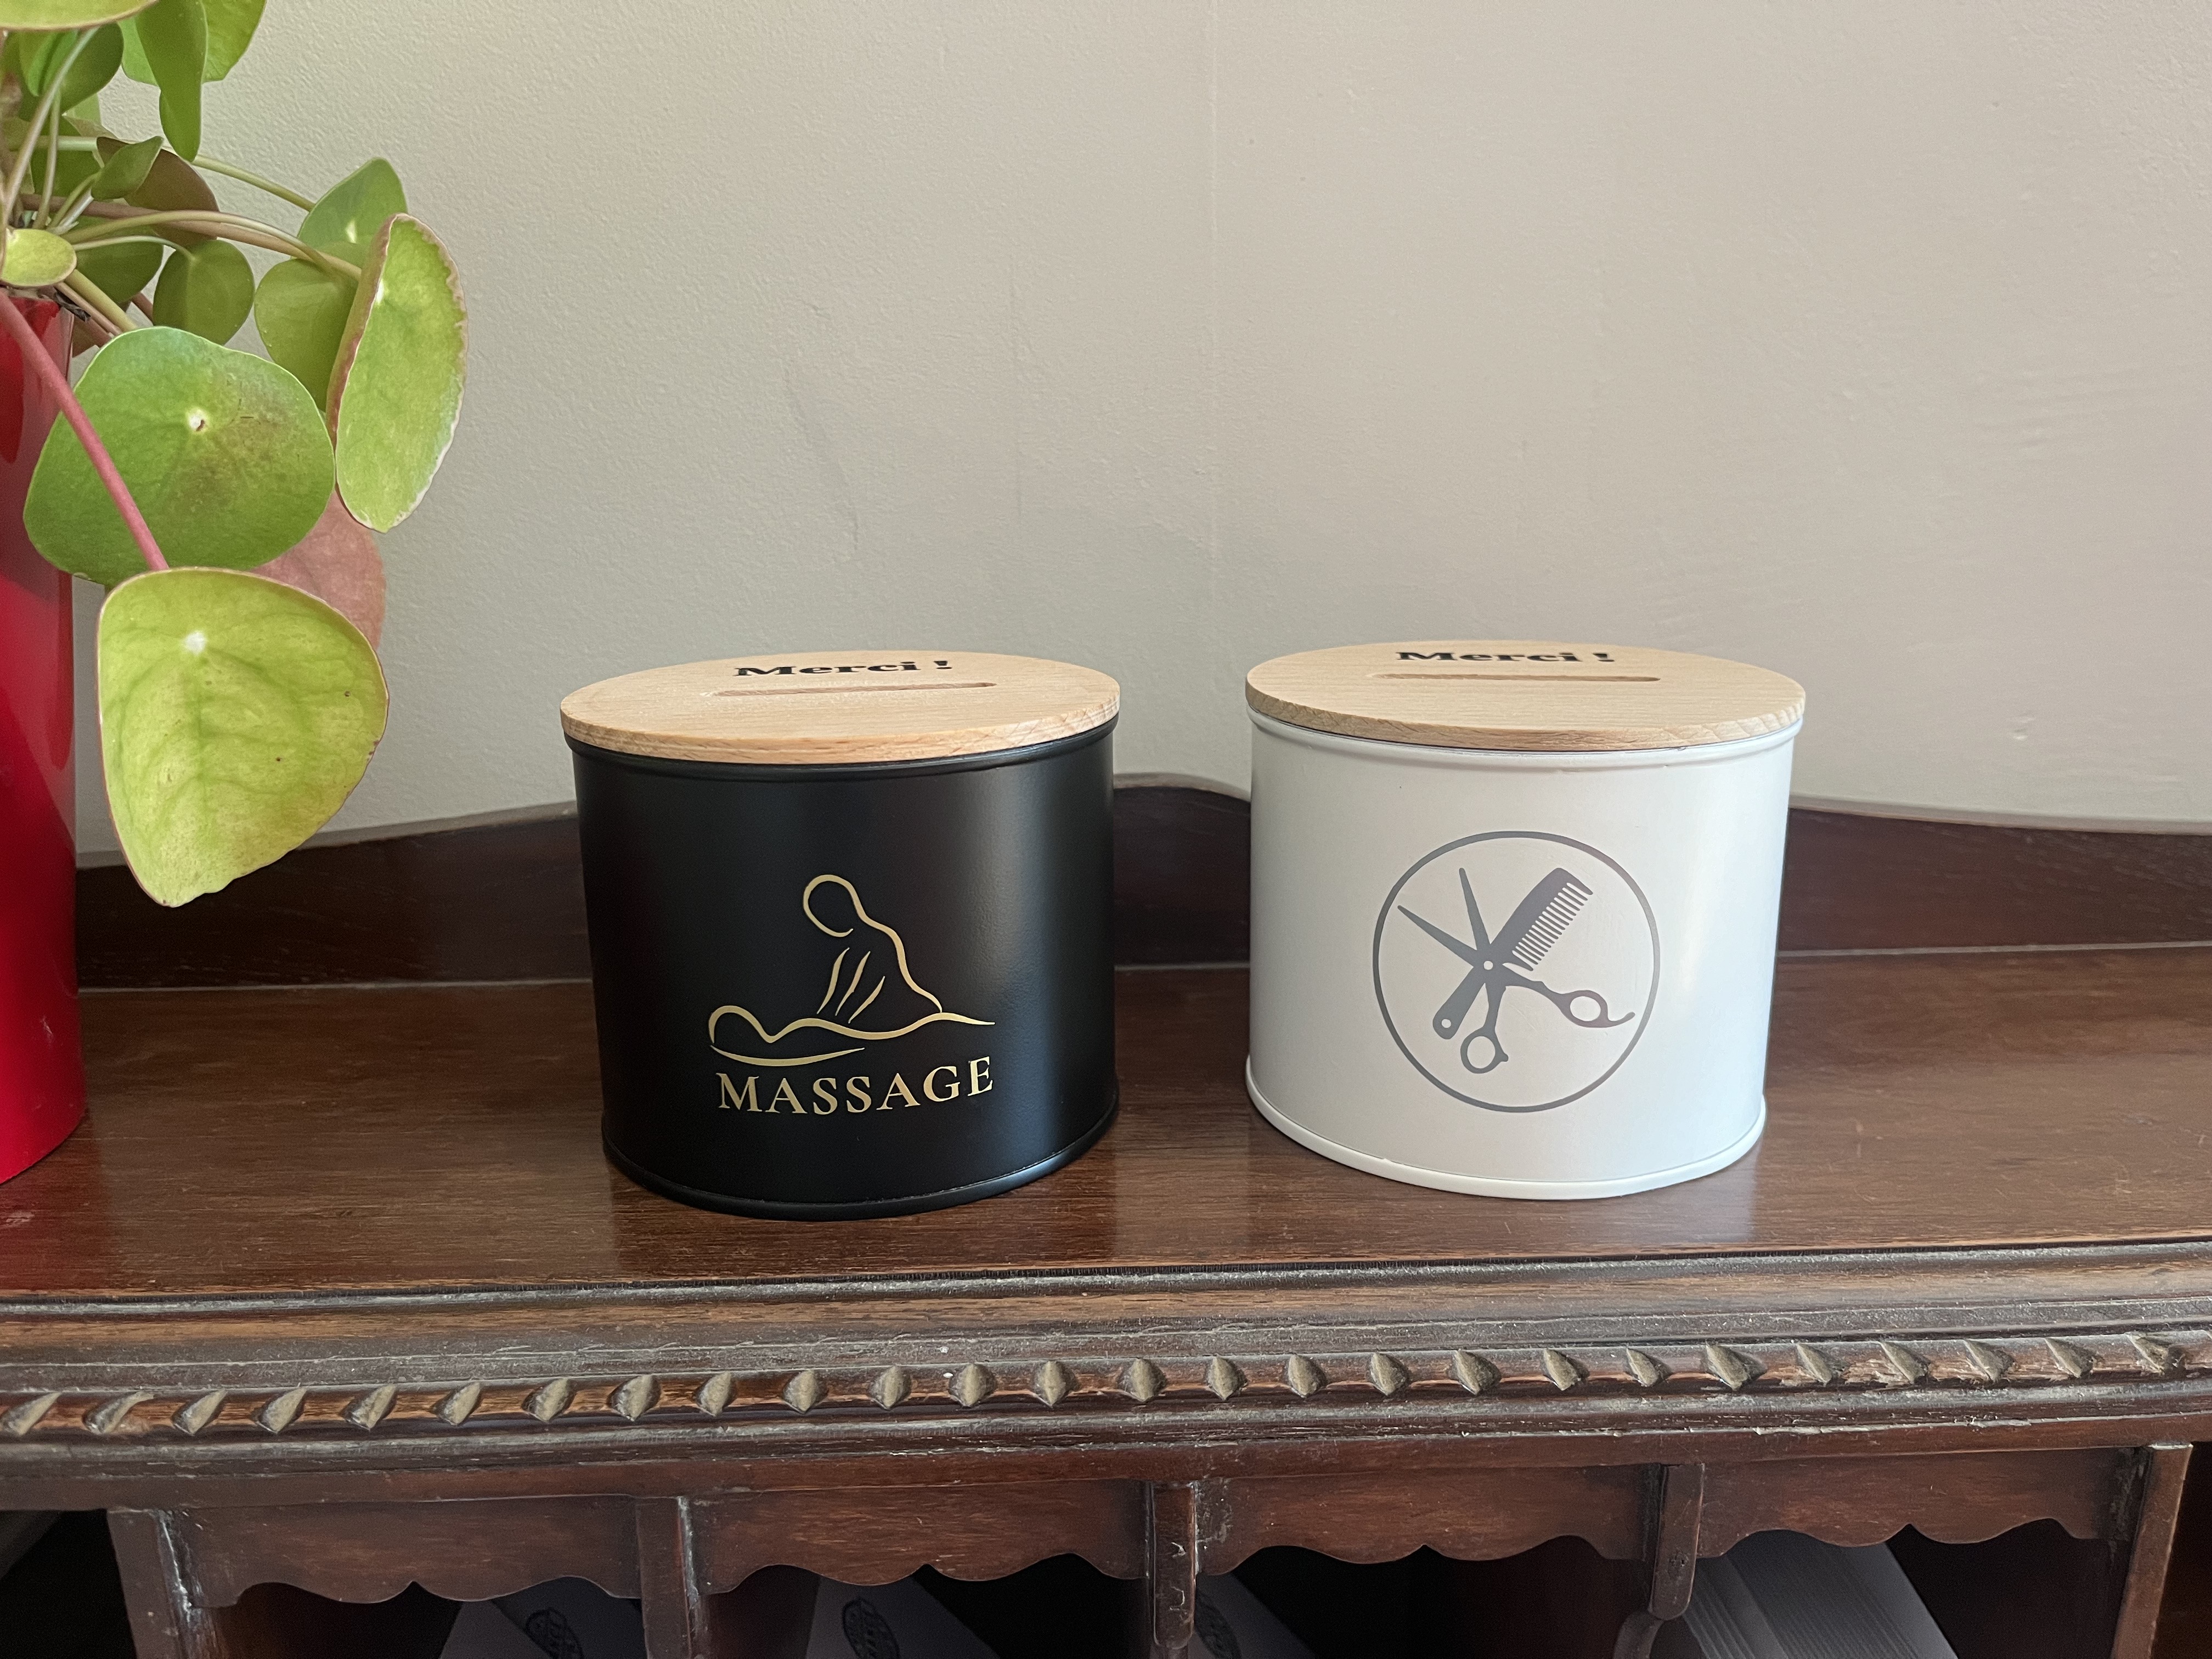
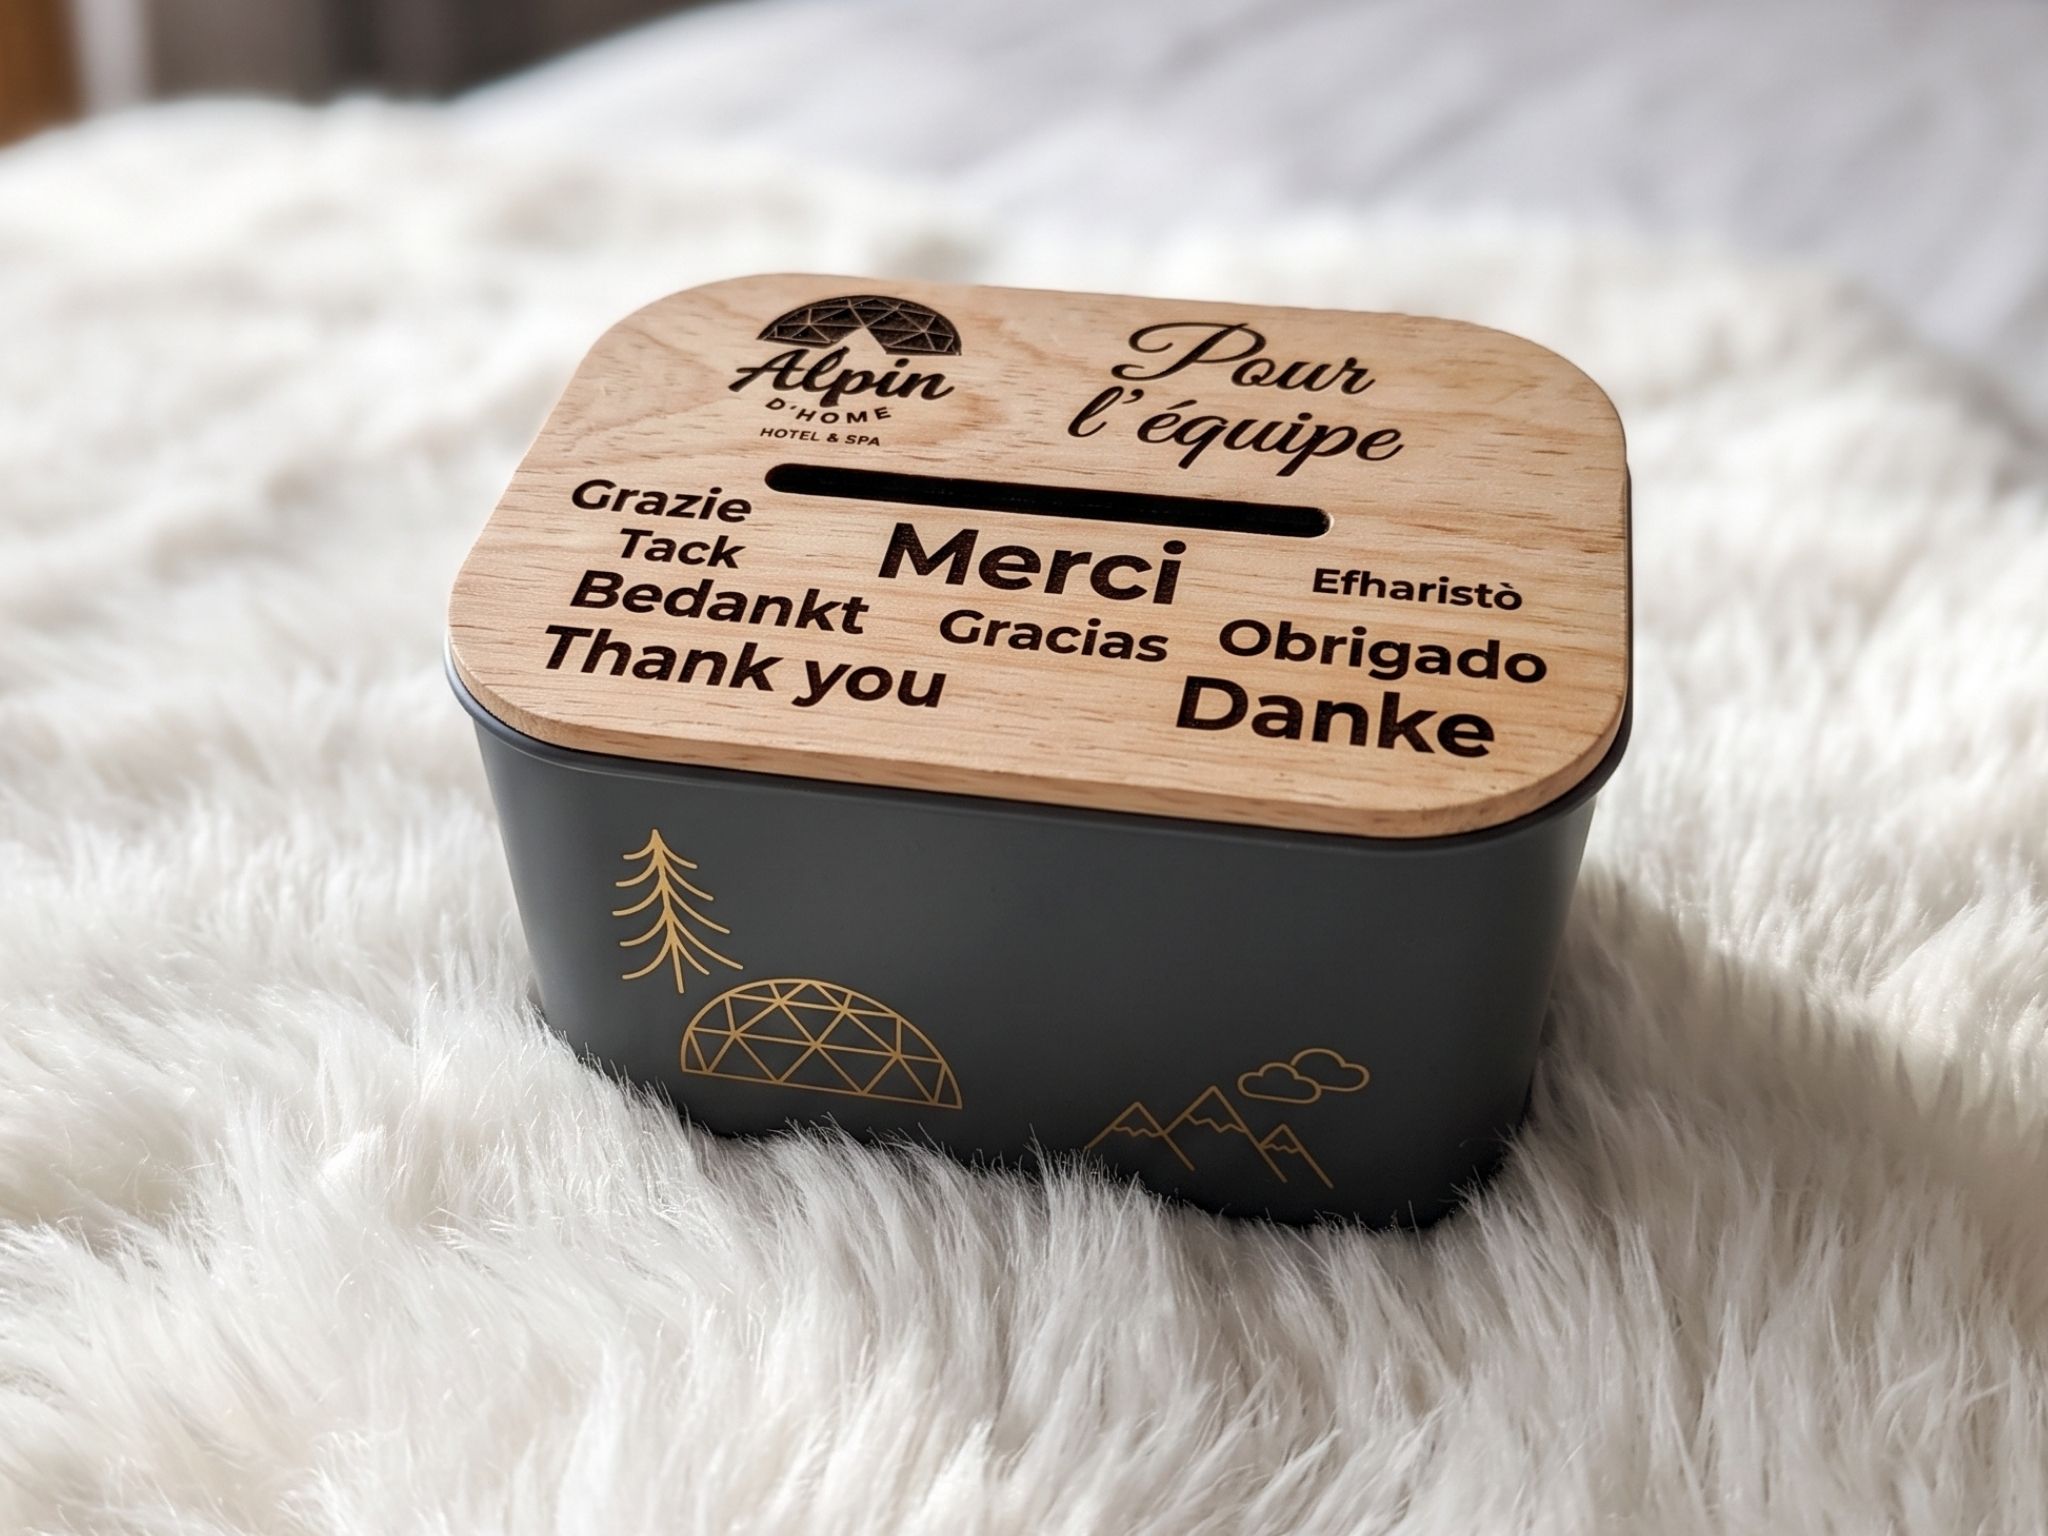
7. Combine several techniques for an even more original result
Why choose just one method when you can combine several?
Mixing techniques allows you to create personalized tin cans that really stand out.
Here are a few ideas to try:
-
Bohemian style: paint in natural shades, jute twine and a small kraft label.
-
Chic style: matte paint, satin ribbon and gold decorations.
-
Vintage style: retro-patterned paper, twine and a vintage-style label.
-
Colourful style: bright paint, stickers and multicoloured wool.
-
Natural style: linen fabric, rope and small wooden decorations.
The key is to find the right balance between colours, textures and accessories. You don't need lots of decorative elements: a simple, well-designed creation can be just as effective as a more elaborate one.
A few tips before you get started
To achieve a good result, take the time to prepare your tin can.
-
Clean the can and remove any label or adhesive residue.
-
Check the metal edges. They should have no sharp edges. An opened can must be properly prepared before handling.
-
Choose suitable materials for metal and for the decorating technique you intend to use.
-
Allow each layer to dry before adding more paint, collage or accessories.
-
Protect your creation, if necessary, with a varnish compatible with the materials used.
If the can is intended to hold food, cosmetics or other items that come into contact with the skin, make sure the materials and finishes are suitable for that purpose. A can decorated with ordinary paint or glue should not automatically be considered food-safe.
Where can you find empty tin cans for your creative projects?
To bring your ideas to life, you can use clean, empty tin cans that you have recycled or selected specifically for your project.
The size, shape and original appearance of the can can influence the final result. A small can is ideal for a miniature creation, while a larger format offers more space for a detailed design.
Discover the empty tin cans available from Pulsaï and bring your personalization ideas to life.
Time to get creative!
Paint, collage, fabric, twine, stickers or decorative accessories: there are many ways to personalize a tin can. Each technique creates a different look, and the possible combinations are almost endless.
Whether you want to prepare an original gift, create decorations for a celebration or simply try a creative activity, a tin can is a versatile surface for expressing your imagination.
Which technique will you choose to personalize your tin can? Let your creativity flow and create something that reflects your style!
Share this content